Creating a list of territories
Assign workers to designated territories and mark these territories at client locations and job sites. This ensures you can verify if the assigned worker is eligible to perform tasks at the client’s address or if a different worker needs to be assigned.
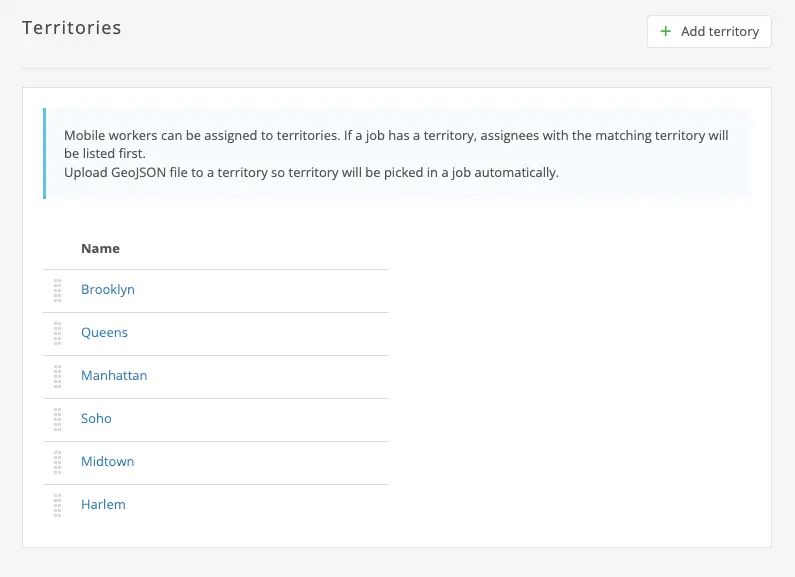
First, create a list of all your territories. You can add to it and edit it in the future.
Creating a territory
Open the Settings → Territories page.
You will see a list of all your territories.

Click on the Add territory button. The new territory window will open.
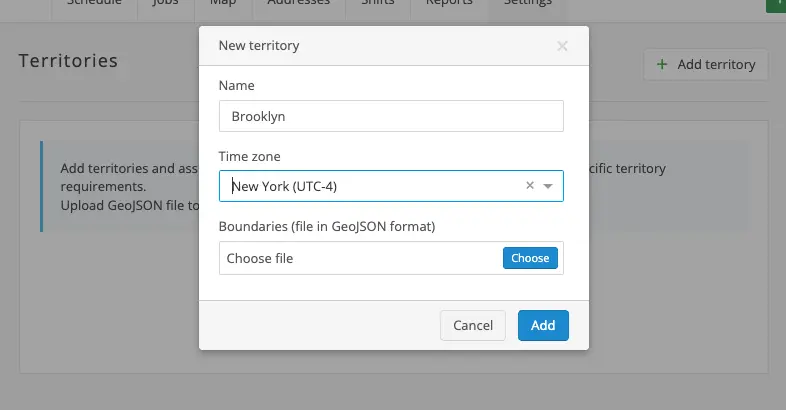
In the new territory window, enter the territory name. You may also adjust its time zone if it differs from your default setting. This feature is particularly useful for companies operating across multiple cities or countries with varying time zones.
The GeoJSON file upload is described in the designated instructions.
After entering the territory details, click the Add button to create a new territory. Repeat the process to add additional territories.
After you have created territories, you can use them in jobs, clients, sites, and workers.
Updating and deleting territories
To update or delete a territory, go to the Settings → Territories page and click on the territory. The territory window will open.
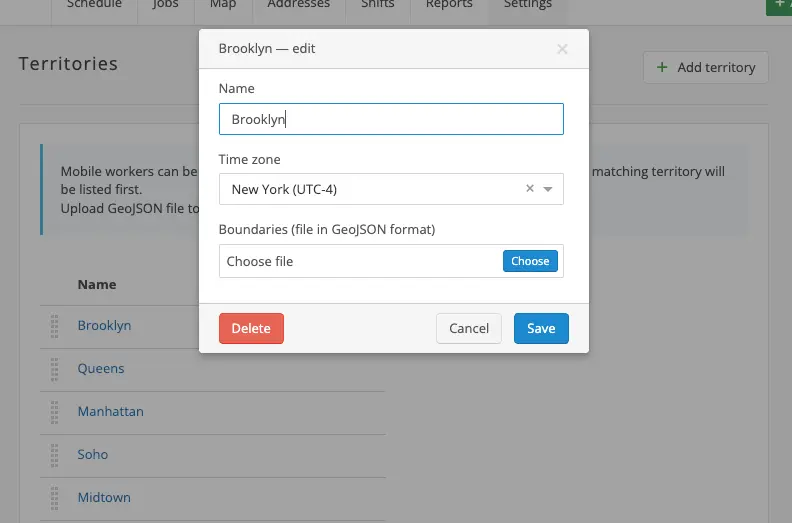
Here, you can delete the territory by clicking the Delete button. To update a territory, make necessary updates, and click the Save button.
If you need any help, leave us a ticket or write to our email address: support@planado.app.